How to Pack a Backpack for Travel: The Science of Weight Distribution and Easy Access
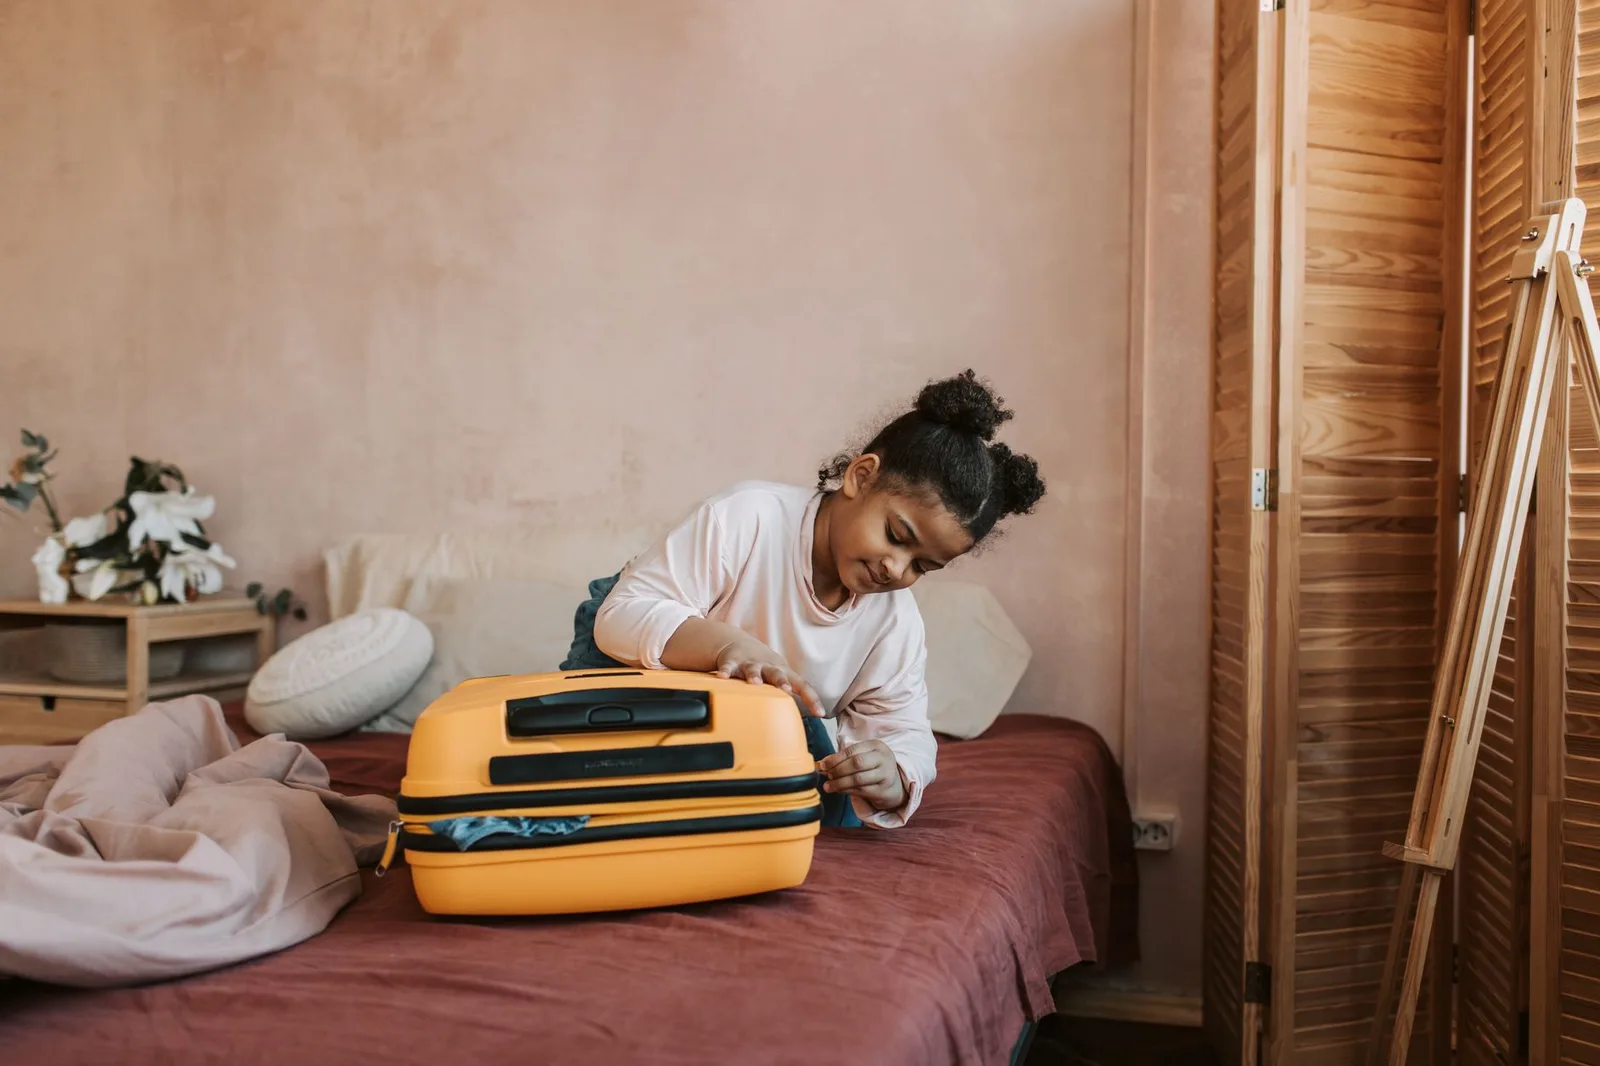
Learning how to pack a backpack for travel is about physics, organization, and accessibility. By placing heavy items close to your spine, medium-weight gear at the bottom and outer edges, and essentials at the top, you prevent shoulder strain and breeze through airport security. Utilizing packing cubes and a structured zone system transforms a chaotic bag into a perfectly balanced, mobile carry-on.
Contents
Whether you are embarking on a weekend city break or a multi-month international journey, carrying your luggage on your back offers unparalleled mobility. However, a poorly packed bag can quickly lead to shoulder fatigue, lower back pain, and airport security bottlenecks. Knowing how to pack a backpack for travel is not just about fitting everything inside; it is about strategic weight distribution and quick access to your gear.
Key Takeaways
- Pack the heaviest items in the center of the bag, flush against your spine, to maintain your natural center of gravity.
- Use the 3-Zone system (Bottom, Core, Top) to organize items by weight and frequency of use.
- Keep liquids, electronics, and travel documents in designated external or top-access pockets for rapid airport security retrieval.
- Roll your clothing and compress it using packing cubes to maximize space and prevent shifting during transit.
The Physics of Backpack Weight Distribution
To understand how to pack a backpack for travel, you must first understand how weight affects your body. When you walk, your body naturally adjusts to keep your center of gravity over your feet. If your backpack is packed incorrectly, it will pull your torso backward, forcing you to lean forward aggressively and strain your lumbar spine.
The Danger of a Bottom-Heavy Bag
A common mistake is placing the heaviest items, like boots or heavy toiletry kits, at the very bottom of the backpack. This drags the pack downward and outward, putting immense pressure on your shoulders and neck muscles. Your shoulders end up doing all the work that your hips should be doing.
The Danger of an Outer-Heavy Bag
Placing heavy items in the outer pockets (the parts furthest from your back) creates a leverage effect. The weight pulls you backward, forcing you to hunch forward to compensate. This posture leads to rapid fatigue and can cause balance issues when navigating uneven cobblestone streets or boarding trains.
The Three-Zone Packing Method for Balance and Comfort
The most efficient way to organize your gear is by dividing your backpack into three distinct horizontal zones, supplemented by dedicated quick-access pockets. This systematic approach ensures your heavy gear rests against your upper back, while lighter items support the load from below.
| Zone Name | Weight Level | Best For | Accessibility Level |
|---|---|---|---|
| Zone 1: Bottom | Medium to Light | Sleeping gear, extra shoes, seasonal wear | Low (accessible only at lodging) |
| Zone 2: Core (Spine side) | Heavy | Laptop, books, heavy toiletry kits, footwear | Medium (requires opening main compartment) |
| Zone 3: Core (Outer side) | Medium to Light | Clothing in packing cubes, rolled jackets | Medium (requires opening main compartment) |
| Zone 4: Top & Pockets | Light | First-aid, rain shell, tech chargers, snacks | High (accessible on the go) |
Zone 1: The Foundation (Bottom of the Pack)
Fill the bottom of your bag with items you will not need until you reach your destination. This includes spare shoes, pajamas, or specialized gear. These items act as a shock absorber and create a stable base for the heavier objects above them.
Zone 2: The Core (Middle and Close to the Spine)
This is the sweet spot for your heaviest items. Place your laptop (ideally in a dedicated sleeve), heavy camera gear, or dense packing cubes right against the back panel. Keeping these items close to your body aligns the load with your natural center of gravity, transferring the weight down to your hips via the backpack hip belt.
Zone 3: The Outer Core (Middle and Away from the Spine)
Wrap your heavier core items with lighter gear. This is where your standard clothing cubes, lightweight layers, and travel towels should go. They fill the gaps and prevent the heavy core items from shifting while you walk.
Zone 4: The Top and Exterior Pockets (Quick Access)
The top compartment and external pockets should be reserved exclusively for items you need during your transit. This includes your passport, wallet, smartphone, headphones, and a light jacket or rain poncho in case of sudden weather changes.
NEW — AI Snap & Check: photograph your packed bag and OneBag's AI instantly ticks off your items and warns you about missing essentials (passport, wallet, charger). Plus smart carry-on lists for your exact trip and bag-weight tracking for 80+ airlines — so you never forget a thing or pay an overweight fee.
Optimizing for Airport Security and Transit
Knowing how to pack a backpack for travel also means preparing for the realities of modern airport security. Modern airport hubs, such as those regulated by the Transportation Security Administration, require travelers to remove electronics and liquids rapidly during screening. If these items are buried deep within your main compartment, you will cause delays for yourself and others.
How to Pack Your Liquids and Tech
Always pack your liquids bag at the very top of your main compartment or in an easily accessible front pocket. Similarly, ensure your laptop and tablet can be slid out of their compartments without unfolding the entire backpack. Dedicated travel backpacks often feature a side-access laptop zipper specifically for this purpose.
Securing Your Straps
Loose straps are a major hazard on airplanes and buses. If you must check your backpack, tuck all dangling straps, hip belts, and chest clips into the harness panel, or wrap the entire bag in a protective flight cover. Loose buckles can easily catch on airport conveyor belts and tear off.
Maximizing Space: Compression and Folding Techniques
To pack efficiently, you must eliminate dead air space inside your bag. Air is the enemy of compact packing.
The Roll vs. Fold Debate
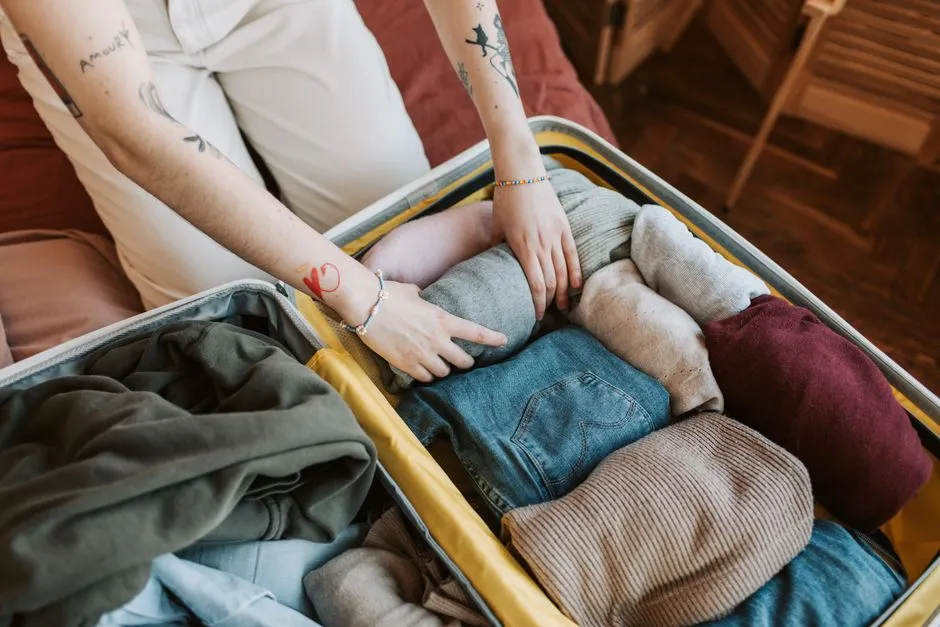
While folding flat works well for structured suitcases, rolling your clothes is superior for backpack travel. Rolling tightly minimizes wrinkles, compresses the fabric, and allows you to fit garments into the rounded corners of your backpack.
Using Packing Cubes
Packing cubes are essential tools for organization. They act like drawers for your backpack, grouping similar items together (e.g., t-shirts in one cube, underwear in another). Compression packing cubes take this a step further by utilizing a secondary zipper to squeeze out excess air, reducing the volume of your clothing by up to 40%.
The Ranger Roll Method
How to Ranger Roll a T-Shirt
To maximize space, turn the bottom hem of your shirt inside out by about three inches. Fold both sleeves and sides inward to create a straight rectangle. Roll the shirt tightly from the collar downward. Once fully rolled, grab the inverted hem pocket and fold it back over the entire roll to lock it in place. This creates a tight, self-contained fabric burrito that will not unravel in your bag.
Common Mistakes to Avoid
- Overpacking "Just in Case" Items: Travelers often pack for worst-case scenarios. If you can buy an item cheaply at your destination, leave it at home. Stick to a versatile capsule wardrobe that can be layered and washed easily.
- Ignoring the Airline Weight Limits: Many budget carriers restrict carry-on bags to 7kg (15 lbs). Always weigh your backpack before leaving home. A bag that is physically small can still easily exceed weight limits if packed with heavy gear.
- Neglecting Waterproofing: Even water-resistant backpacks can leak during a heavy downpour. Always pack a lightweight rain cover, or line the inside of your backpack with a heavy-duty trash bag to keep your clothes dry.
- Forgetting to Balance Left vs. Right: If you place a heavy water bottle on the left side pocket and nothing on the right, your body will constantly lean to one side. Distribute weight evenly horizontally as well as vertically.
- Not Adjusting the Harness: A perfectly packed bag is useless if the straps are poorly adjusted. Tighten the hip belt first (which should carry 70% of the weight), then pull the shoulder straps, and finally adjust the load lifters at the top to pull the pack flush against your shoulders.
Frequently Asked Questions
How do I stop my clothes from wrinkling in a travel backpack?
To minimize wrinkles, use the rolling method instead of folding. Rolling fabric prevents hard creases from forming under pressure. Additionally, packing your clothes tightly inside packing cubes limits their movement during transit, which prevents them from friction-rubbing and wrinkling against other items.
What is the maximum backpack size for a standard airline carry-on?
For most domestic and international airlines, the standard carry-on size limit is 22 x 14 x 9 inches (56 x 36 x 23 cm). This generally translates to a backpack capacity of 35 to 45 liters. Always check the specific dimensions of your operating airline, as regional carriers often have much stricter limits.
How should I pack shoes in a travel backpack?
Shoes should be packed at the bottom or along the spine of the backpack to keep their weight stable. Place them in a shoe bag or plastic shower cap to protect your clean clothes from dirt. To save space, stuff the inside of your shoes with socks, chargers, or other small, soft items.
Where should I put my toiletries when packing a backpack?
Your toiletries should be placed in a clear, leak-proof bag and positioned near the top of your backpack or in an easily accessible outer pocket. This makes it simple to remove them at airport security checkpoints without having to dig through your main compartment and disrupt your packing structure.
Do I really need a hip belt on a travel backpack?
If your backpack weighs more than 5kg (11 lbs), a hip belt is highly recommended. A properly fitted hip belt transfers the majority of the pack's weight from your delicate shoulders and neck to your stronger hip bones and legs, significantly reducing fatigue and long-term muscle strain.
How do I protect fragile items inside my backpack?
Fragile items should be placed in the center of your backpack (Zone 2), surrounded on all sides by soft clothing layers or packing cubes. Avoid placing fragile items near the bottom where they can be crushed when you set the bag down, or near the outer fabric where they can take impacts from external bumps.
Packing a travel backpack efficiently is a skill that improves with every trip. By focusing on weight distribution, using packing cubes to compress your gear, and keeping your transit essentials easily accessible, you will enjoy a much more comfortable and stress-free journey. Keep your load light, organize systematically, and enjoy the freedom of hands-free travel.

Independent Full Stack Developer · Founder of Tabserve
Aycan builds and maintains Tabserve's apps — OneBag, Routevia and RentFlow — and writes practical, tested guides to help you pack smarter, travel better and manage rentals with less hassle.