The Ultimate Hiking Trip Packing List: Day-Hike and Multi-Day Gear Guide
This comprehensive guide breaks down the essential items needed for both single-day hikes and multi-day wilderness backpacking trips. Learn how to implement the classic layering system, select reliable navigation and safety tools, and optimize your pack weight to prevent fatigue. Whether you are heading out for a four-hour valley stroll or a week-long alpine trek, this structured checklist ensures you never leave critical survival gear behind.
Preparing for the wilderness requires a delicate balance between safety, comfort, and physical capability. Carrying too much weight leads to rapid fatigue, joint strain, and sore feet, while packing too little leaves you vulnerable to sudden weather changes, dehydration, and navigation errors. A well-structured hiking trip packing list serves as your operational blueprint, ensuring that every ounce of weight in your pack serves a practical, life-saving, or comfort-enhancing purpose.
Contents
- Key Takeaways
- Understanding the Ten Essentials for Trail Safety
- The Core Day-Hike Packing List
- The Multi-Day Backpacking Packing List
- Comparative Gear Guide: Day Hike vs. Multi-Day Trek
- Personal Hygiene and Leave No Trace Gear
- How to Pack Your Backpack for Maximum Comfort
- Common Mistakes to Avoid
- Frequently Asked Questions
Key Takeaways
- Always carry the Ten Essentials, regardless of the planned duration or simplicity of your hike.
- Master the three-layer clothing system (wicking, insulating, and weather protection) to manage body temperature and moisture.
- Keep your total packed weight below 10% of your body weight for day hikes, and under 20% for multi-day backpacking trips.
- Test every piece of gear—especially footwear and water filters—before arriving at the trailhead.
Understanding the Ten Essentials for Trail Safety
Before diving into specific gear lists for different trip lengths, every hiker must understand the Ten Essentials. Originally compiled by The Mountaineers in the 1930s, this collection of safety equipment is designed to answer two basic questions: Can you respond positively to an accident or emergency, and can you safely spend an extra night outside?
1. Navigation
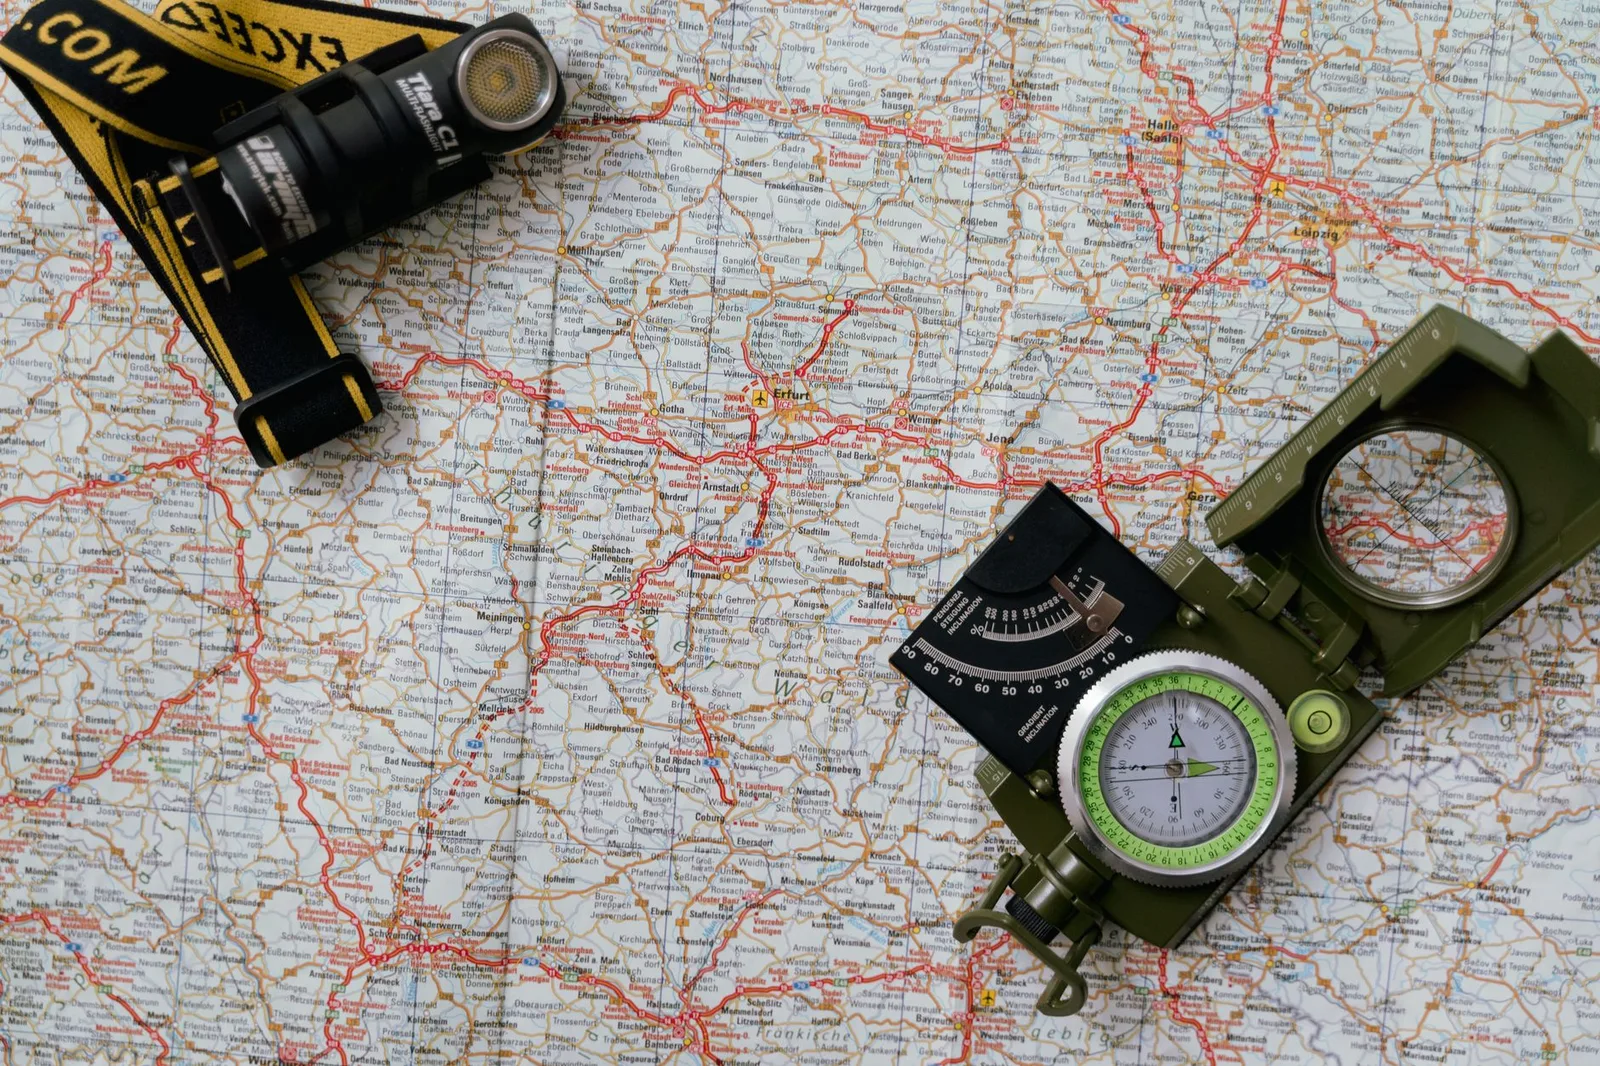
Modern hikers often rely on smartphone apps, but batteries drain quickly in cold weather or search-intensive conditions. Carry a physical, topographic map of the area and a magnetic compass. A dedicated GPS receiver or an external power bank for your smartphone is highly recommended as a secondary resource.
2. Headlamp and Illumination
Even on a short afternoon hike, a delayed return can plunge you into complete darkness. Always carry a lightweight LED headlamp with fresh batteries, plus an extra set of batteries or a charging cable. Headlamps are superior to handheld flashlights because they keep your hands free for scrambling or holding trekking poles.
3. Sun Protection
Sunburn accelerates dehydration and fatigue. Pack broad-spectrum sunscreen rated SPF 30 or higher, UV-blocking sunglasses, and a wide-brimmed hat. At high altitudes, the atmosphere is thinner, meaning UV radiation increases significantly, making protection critical even in cold temperatures.
4. First Aid Kit
You can purchase a pre-made wilderness first aid kit or build your own. It should contain adhesive bandages of various sizes, sterile gauze pads, medical tape, blister treatments (such as moleskin or hydrocolloid bandages), antiseptic wipes, ibuprofen, antihistamines, and any personal prescription medications.
5. Knife and Repair Kit
A multi-tool or a simple folding pocket knife is invaluable for gear repairs, food preparation, first aid, and making kindling. Additionally, carry a small repair kit containing duct tape, zip ties, and a replacement buckle for your backpack straps.
6. Fire Starters
In an emergency, fire provides warmth, light, and a signal for rescuers. Carry waterproof matches, a reliable lighter, or a flint-and-steel sparker. Pair these with synthetic fire tinder or petroleum-jelly-coated cotton balls stored in a waterproof container.
7. Emergency Shelter
Even on a day hike, carry an ultralight emergency space blanket, a bivvy sack, or a simple plastic tarp. These items weigh mere ounces but can prevent hypothermia if you are forced to spend an unexpected night on the trail.
8. Extra Nutrition
Pack at least one full day's worth of extra food beyond your planned itinerary. Focus on dense, high-calorie items that require no cooking, such as energy bars, nuts, dried fruit, and jerky.
9. Extra Hydration
Carry enough water for your planned route, plus a reliable method to treat raw wilderness water. Chemical purification tablets, squeeze filters, or UV purifiers are essential for replenishing your supply from streams, lakes, or springs.
10. Extra Clothing Layers
Weather in mountainous or forested regions can shift within minutes. Always pack an extra insulating layer and a waterproof jacket, even if the morning forecast predicts clear skies.
The Core Day-Hike Packing List
A day hike typically ranges from a couple of hours to a full 12-hour adventure. Because you return to shelter at night, your pack can remain relatively light. The focus here is on comfort, hydration, and weather preparedness.
The Backpack
For most day hikes, a backpack with a capacity of 15 to 30 liters is ideal. Look for a pack with a supportive hip belt to transfer the load from your shoulders to your hips, and external mesh pockets for quick access to water bottles and rain gear.
Footwear and Socks
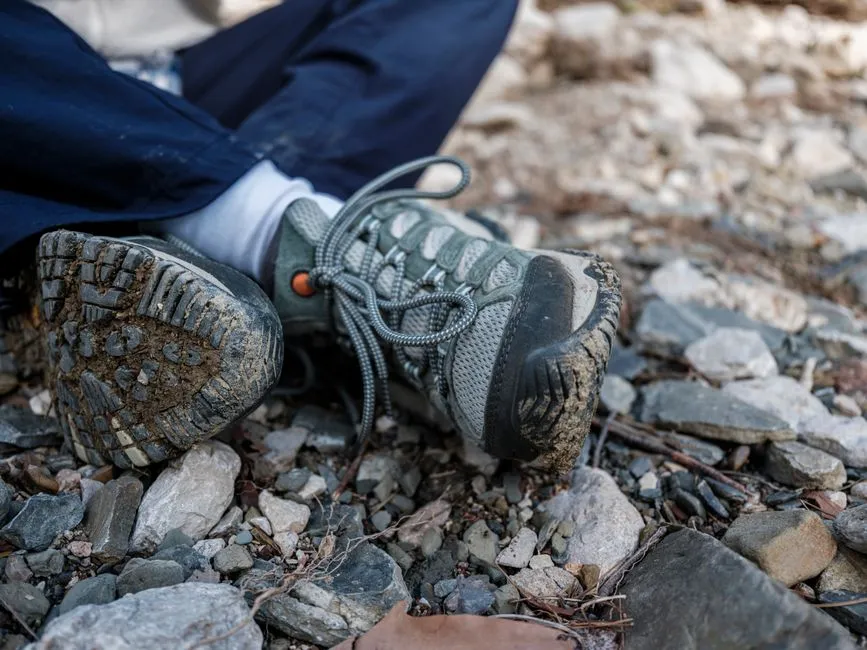
Your choice of footwear depends on the terrain. Well-maintained, flat trails are suited for lightweight trail running shoes, while rocky, steep, or muddy paths require sturdy hiking boots with ankle support. Pair your footwear with synthetic or merino wool socks to wick away sweat and prevent friction-induced blisters. Never wear cotton socks on the trail.
Day Hiking Clothing Layering System
To stay dry and comfortable, use the classic three-layer system:
- Base Layer: Synthetic or merino wool T-shirt or long-sleeve top. This pulls moisture away from your skin.
- Insulating Layer: A lightweight fleece jacket or a packable synthetic down jacket to trap body heat.
- Outer Shell: A breathable, waterproof rain jacket to shield you from wind and precipitation.
The Multi-Day Backpacking Packing List
When transitioning from day hiking to multi-day backpacking, your packing list expands to include shelter, a sleep system, cooking utilities, and significantly more food. Efficiency and weight management become your primary concerns.
Shelter and Sleep System
Your sleep system must protect you from ground dampness, cold air temperatures, and insects. This system consists of three main components:
1. The Tent or Shelter
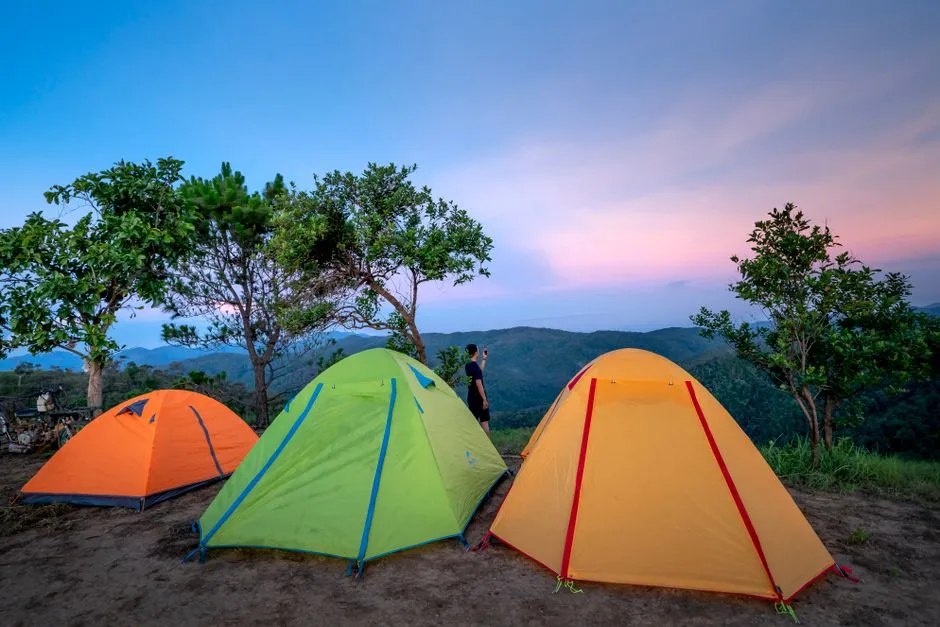
A double-wall, freestanding backpacking tent is the most popular choice for beginners and intermediate hikers. It provides reliable protection from heavy rain and wind while keeping bugs out. Ultralight backpackers may opt for trekking-pole-supported tents or camping hammocks to save weight.
2. The Sleeping Bag
Choose a sleeping bag rated to a temperature at least 10 degrees Fahrenheit colder than the lowest temperature you expect to encounter. Down insulation offers the best warmth-to-weight ratio and compresses exceptionally small, while synthetic insulation retains warmth even if it gets wet.
3. The Sleeping Pad
A sleeping pad provides comfort, but its most critical job is insulating your body from the cold ground. Look for the "R-value" rating of the pad. An R-value of 1 to 2 is suitable for warm summer nights, 3 to 4 is ideal for three-season use, and 5 or higher is required for winter camping on snow.
Kitchen and Cooking Gear
After a long day of carrying a heavy pack, a hot meal is vital for recovery and morale. Your backcountry kitchen should be compact and fuel-efficient.
- Stove and Fuel: Canister stoves that screw directly onto small isobutane-propane canisters are lightweight, reliable, and easy to adjust.
- Cookset: A single anodized aluminum or titanium pot with a lid is sufficient for boiling water and cooking simple meals.
- Utensils: A long-handled spoon allows you to eat directly out of dehydrated food pouches without getting food on your hands.
- Food Storage: Depending on local regulations, you may need a heavy-duty bear-proof canister or a lightweight dry bag with cordage to hang your food out of reach of wildlife.
NEW — AI Snap & Check: photograph your packed bag and OneBag's AI instantly ticks off your items and warns you about missing essentials (passport, wallet, charger). Plus smart carry-on lists for your exact trip and bag-weight tracking for 80+ airlines — so you never forget a thing or pay an overweight fee.
Comparative Gear Guide: Day Hike vs. Multi-Day Trek
To help you visual the differences in gear requirements, weight expectations, and packing strategies, refer to the comparison table below.
| Gear Category | Day Hike Setup | Multi-Day Trek Setup | Weight Category | Best For |
|---|---|---|---|---|
| Backpack Capacity | 15 to 30 Liters | 45 to 70 Liters | Light to Medium | Varies by duration |
| Shelter | Not required (Emergency blanket only) | 3-Season Backpacking Tent | Premium / Lightweight | Protection from elements |
| Sleep System | None | Sleeping bag & Insulated pad | Mid to Premium | Nighttime warmth |
| Water Capacity | 1.5 to 3 Liters (Bottles or bladder) | 3+ Liters plus squeeze filter | Budget to Mid | Continuous hydration |
| Food Strategy | High-protein snacks, fresh lunch | Dehydrated meals, high-calorie bars | Budget | Weight-to-calorie efficiency |
Personal Hygiene and Leave No Trace Gear
Maintaining hygiene on the trail keeps you healthy and protects the pristine nature of the wilderness. Adhering to the Leave No Trace principles is the responsibility of every hiker.
The Backcountry Bathroom Kit
When nature calls and there are no facilities, you must be prepared to manage waste responsibly. Your kit should include:
- A lightweight trowel to dig a "cathole" at least 6 to 8 inches deep, located at least 200 feet away from water sources, trails, and campsites.
- Biodegradable toilet paper or unscented wet wipes.
- A sealable plastic bag (like a zip-top bag wrapped in duct tape for privacy) to pack out used toilet paper and wipes. Never bury wet wipes.
- Alcohol-based hand sanitizer to clean your hands thoroughly afterward.
Teeth and Skin Care
Pack a travel-sized toothbrush and biodegradable toothpaste. Use water sparingly when brushing, and spray the gray water over a wide area far from your campsite. For skin chafing, carry a small tube of anti-chafing balm or petroleum jelly to apply to areas of friction, such as the inner thighs and underarms.
How to Pack Your Backpack for Maximum Comfort
How you arrange items inside your backpack directly impacts how heavy the load feels on your body. Proper weight distribution prevents the pack from pulling you backward or shifting awkwardly on uneven terrain.
The Bottom Zone (Lightweight, Bulky Items)
Place items you will not need until you reach camp at the very bottom of your pack. This includes your sleeping bag, sleeping pad, and nighttime clothing. This creates a stable base for the rest of your gear.
The Core Zone (Heavy Items)
Heavy items should be placed close to your spine, centered vertically in the pack. This keeps the center of gravity close to your body, preventing the load from pulling you off-balance. Place your food bag, stove, water reservoir, and cooking pot in this section.
The Top Zone (Medium-Weight, Frequently Used Items)
Keep items you might need during the day at the top of the main compartment. This includes your rain jacket, fleece layer, first aid kit, toilet paper kit, and lunch.
The External Pockets (Quick-Access Items)
Utilize the brain (top lid) of your pack, side mesh pockets, and hip belt pockets for small items you need to grab without stopping to unpack. Keep your map, compass, headlamp, sunscreen, lip balm, and trail snacks here.
Common Mistakes to Avoid
- Packing brand-new boots: Wearing hiking boots straight out of the box on a long hike is a guaranteed recipe for severe blisters. Always wear new footwear around your neighborhood or on short walks to break them in before tackling rugged trails.
- Overpacking heavy clothing: Bringing multiple heavy cotton hoodies or pairs of jeans adds immense weight and offers no warmth once wet. Stick to lightweight, technical synthetic or wool layers that pack down small.
- Ignoring local water availability: Assuming there will be water sources along your trail without verifying beforehand can lead to dangerous dehydration. Check trail conditions, ranger reports, or guidebooks, and always carry extra carrying capacity if water is scarce.
- Failing to test stoves and filters: Discovering that your stove canister is empty or your water filter is clogged when you are ten miles into the backcountry is a preventable emergency. Assemble and test all mechanical gear at home before every trip.
- Neglecting pack weight limits: Carrying a pack that exceeds 20% of your body weight without training will rapidly fatigue your muscles and joints, making the hike painful rather than enjoyable. Keep it as light as safely possible.
Frequently Asked Questions
What are the absolute bare essentials I need for a short, two-hour trail hike?
Even on a short two-hour hike, you should pack a water bottle (at least 1 liter), a lightweight rain jacket, a fully charged cell phone, a simple first aid kit, a snack, and a headlamp. Trail conditions can change, or you could take a wrong turn, stretching a short walk into an evening-long event.
How do I calculate how much water to carry on a hiking trip?
A general rule of thumb is to drink about 0.5 liters (approx. 17 ounces) of water for every hour of moderate hiking in moderate temperatures. If the terrain is steep, the weather is hot, or you are hiking at high altitude, you may need to increase this to 1 liter per hour. Always research water sources along your route to determine if you can filter water along the way.
Why should I avoid wearing cotton clothing while hiking?
Cotton absorbs moisture like a sponge and holds onto it. When you sweat or get caught in the rain, cotton clothing stays wet, clinging to your skin and pulling heat away from your body. In cool or windy conditions, this can rapidly lead to hypothermia. Synthetic fabrics (like polyester and nylon) and merino wool dry quickly and maintain their insulating properties even when damp.
Is a physical map and compass really necessary if I have a GPS app on my phone?
Yes, a physical map and compass are essential safety backups. Smartphones are susceptible to battery drain from cold weather, screen brightness, and GPS tracking. They can also break if dropped on rocks or get ruined in a sudden downpour. A physical map and compass require no batteries, are highly durable, and will always work.
What is the difference between down and synthetic insulation for sleeping bags?
Down insulation (made from duck or goose plumage) offers an exceptional warmth-to-weight ratio, compresses highly, and lasts for many years if cared for properly. However, it loses its insulating properties completely if it gets wet. Synthetic insulation is heavier and bulkier but continues to trap heat even when damp, and it dries much faster than down, making it ideal for wet or highly humid environments.
How do I protect my food from bears and mice while camping overnight?
In areas with active bear populations, you must use a hard-sided, certified bear-resistant canister or use approved metal food lockers provided at campsites. In other areas, you can perform a traditional bear hang by suspending your food bag from a tree limb at least 10 feet high and 4 feet out from the trunk. Always keep food out of your tent, as small rodents can easily chew through tent fabric to reach snacks.
By systematically organizing your hiking trip packing list, you transition from a hopeful traveler to a prepared adventurer. Prioritize high-quality basics, understand your environment, and keep your pack weight manageable to ensure a safe, comfortable, and deeply rewarding experience on the trail.

Independent Full Stack Developer · Founder of Tabserve
Aycan builds and maintains Tabserve's apps — OneBag, Routevia and RentFlow — and writes practical, tested guides to help you pack smarter, travel better and manage rentals with less hassle.